


Mastering the Art of Detailed Tree Drawings
- Anne-Marie Randall
- Jul 16, 2025
- 4 min read

Drawing trees can be an incredibly fulfilling and peaceful endeavor, allowing artists to explore their creativity while honing their skills. Whether you're a novice artist or an experienced illustrator, mastering the art of detailed tree drawings can elevate your work and enhance your understanding of nature's beauty. In this post, we will explore various techniques, practical tips, and a step-by-step guide to help you create magnificent tree drawings.
Tree Drawing Techniques
When it comes to tree drawing techniques, understanding the fundamental elements of a tree is essential. Trees consist of various parts such as the trunk, branches, leaves, and roots, each presenting unique challenges while drawing. Here are some effective techniques to consider:
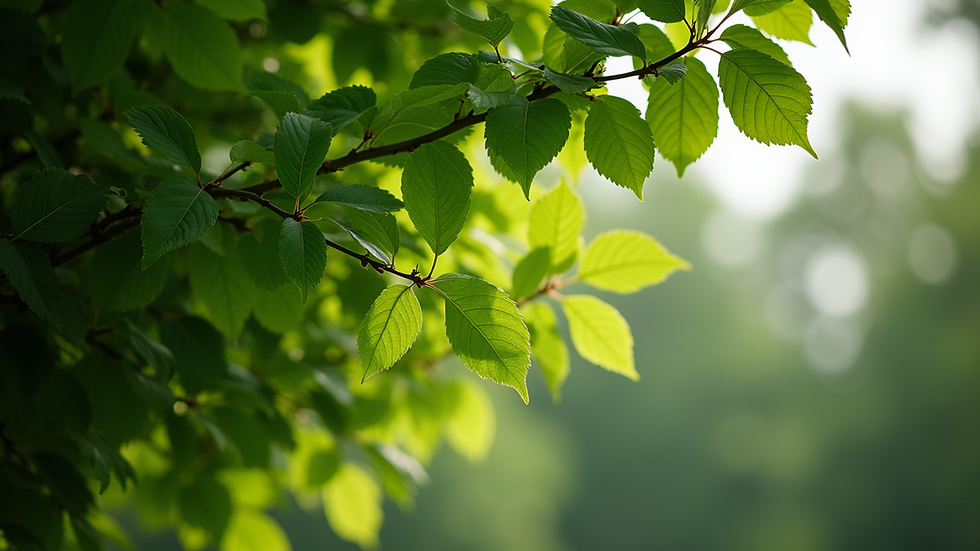
Observation: Study real trees. Observe the way light interacts with the leaves and how the branches grow. This will help you appreciate the tree's structure and form.
Basic Shapes: Break down the tree into simple shapes. Trunks can be represented as rectangles or cylinders, and the canopy can be depicted with organic shapes like circles or ovals. This technique simplifies the drawing process.
Line Variation: Use different line weights and types to add depth and dimension. Thicker lines can be used for the trunk, while lighter, finer lines can define smaller branches and leaves.
Texture: Incorporate texture to replicate the look of bark and foliage. Use stippling, hatching, or cross-hatching techniques to illustrate varying textures effectively.
Perspective: Understanding perspective is crucial. Trees can have varying appearances based on your viewpoint. Practice drawing trees from different angles to develop your skills and create dynamic compositions.

Materials for Tree Drawing
Before you embark on your tree drawing journey, gathering the right materials is critical. Here are some essential supplies to consider:
Pencils: Use a range of pencils, from hard (H grades) for fine lines to soft (B grades) for shading. A mechanical pencil can also provide precision.
Erasers: A kneaded eraser is great for lightening areas and creating highlights, while a plastic eraser works well for clean corrections.
Paper: Choose a paper with enough texture to handle various marking techniques. A heavy-weight drawing paper or a sketchbook specialized for pencils can enhance your drawing experience.
Blending Tools: Stumps or tortillons can help you blend pencil marks for smoother transitions and shading.
Markers or Inks: If you wish to create bold, defined lines, consider using ink or markers after your pencil sketch.

How to Draw a Detailed Tree Step by Step?
Now that you have an understanding of the techniques and materials, let’s dive into a step-by-step guide to drawing a detailed tree.
Step 1: Sketching the Basic Outline
Start with a light pencil sketch of the tree's basic structure. Draw the trunk using a rectangular or cylindrical shape, ensuring it is wider at the base and narrows towards the top.
Step 2: Adding Branches
Next, sketch the main branches extending from the trunk. Remember that branches should taper as they move outwards. Use gentle curves for a more natural flow.
Step 3: Defining the Canopy
Using organic shapes, outline the tree canopy. Whether it is a fluffy or sparse foliage, try to capture the volume and density of the leaves.
Step 4: Detailing the Bark
Now it is time to add texture to the trunk. Use a combination of jagged lines and subtle curves to represent the bark. Focus on vertical irregularities, small knots, and lines following the trunk's flow.
Step 5: Leaves and Foliage
Begin detailing the leaves by using small circular or oval shapes clustered around the branches. Play with different shades of green, or if you're drawing in fall, opt for yellows, oranges, and reds.
Step 6: Shading and Texturing
Introduce shading to add depth to your drawing. Observe where the light hits the tree and use your pencils to shade in the opposite areas. Layer your pencil strokes to create rich textures.
Step 7: Final Touches
Finally, assess your drawing and make any necessary adjustments. Go over your outlines with a darker pencil or ink to make them pop. Clean up smudges with your eraser and ensure your drawing seems balanced.
Tips for Improving Your Tree Drawings
Improving your tree drawing skills requires consistent practice and exploration. Here are some tips to take your artwork to the next level:
Practice Regularly: The more you draw, the better you'll get. Set aside time daily or weekly to focus on sketching different types of trees.
Experiment with Styles: Explore various styles of tree drawings. Try realistic approaches or more abstract interpretations to find your unique voice.
Join Art Communities: Engaging with fellow artists through forums or local workshops can provide inspiration and constructive feedback.
Study Artworks: Analyze the work of famous artists who focus on landscapes. Look at how they depict trees and try to mimic their techniques in your own drawings.
Create a Reference Library: Collect photographs of various tree species as references. Keep a binder or digital folder of images to study form, texture, and colors.
Final Thoughts on the Journey of Tree Drawing
Mastering the art of detailed tree drawings takes time and dedication. By applying the techniques and recommendations outlined in this guide, you'll be well on your way to creating stunning tree illustrations. Remember that art is a personal journey, so enjoy the process as much as the end result. With practice, you may soon find yourself immersed in the world of trees, creating detailed tree drawings that beautifully capture nature's essence.
Explore your creativity and connect with nature through the captivating art of tree drawing. Happy sketching!


Analysis reveals that the argument is well substantiated by verifiable facts. The argument builds incrementally on solid foundations. The website supplies further evidence supporting the main argument. Behavioural indicators are mapped against platform-level engagement data.